User-Friendliness Is a Hallmark of This Extraoral Dental Camera
With 9 modes and extremely accurate images, the EyeSpecial extraoral camera from Shofu is easy for any dental professional to use. by [ Nisha Gupta, DDS ]
There is no shortage of classes on digital photography, and most dentists have taken more of those courses than they can count. Each time I think that this is it. It’s the time when I will finally memorize what shutter, aperture, and ISO mean, the time when I will sit down with my camera and really figure it out. I have committed to this more times than I can remember. It just seems so appealing to be able to document dental scenarios and to use beautiful, high-quality photos to further develop conversations with patients regarding their longterm dental goals.
For years, I wanted consistent photos of my patients but could never establish the process and systems to accomplish this goal. I would head back to the office, usually after making a purchase of some sort, and then progress would halt as I tried to figure out how to train each assistant, transfer the photos onto our imaging software, and properly disinfect the camera after use. I had the courses, the camera, and the need for photos, but I never had the right systems. This was the case for so many years.
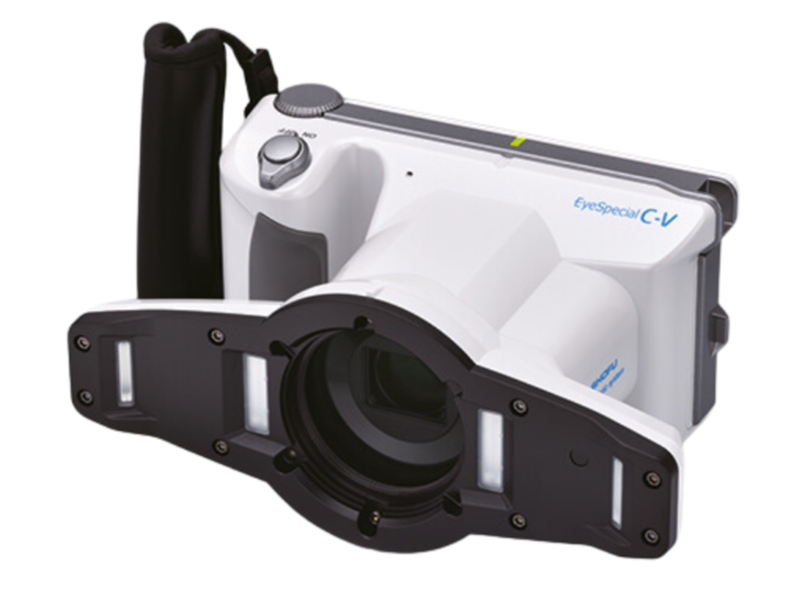
One day, I discovered Shofu’s EyeSpecial camera (Figure 1). I was in a sleep apnea course with our entire team, and we were working through the steps on how to gather all the information for patients with sleep apnea. Photos are an essential part of the sleep apnea workup, and in all the instructor’s examples, team members were taking the photos. It was seamless. Photos were being taken at an extremely consistent rate, and they were being taken without any of the roadblocks I was used to seeing. My big question was “How did they do this?” The instructor mentioned the EyeSpecial camera and that it was the most user-friendly camera in the industry, able to take quality images and every single team member could use it. I couldn’t wait to try it!
During the breakout session, we were given a quick rundown of all the features, and in a few minutes, each of us was able to take quality photos that we were proud of (Figure 2a & 2b). The camera is user-friendly and easy to navigate (Figure 3). The photo quality was superb, even when my least tech-savvy assistant had the camera in her hands. It was so simple, we decided to give it a try at the office.
[Figure 1] The EyeSpecial digital camera is designed exclusively for dentistry. This innovative camera enables your entire dental team to capture perfect pictures every time—no photography skills are needed. With just a press of 1 of 9 pre-set dental shooting modes, you can obtain high-quality images for case documentation, lab collaboration, and patient communication. This camera features tailored modes, including surgery mode for intraoral images at a distance and isolation shade mode which isolates the shade of the gingiva for optimal shade matching. All of the preset modes automatically adjust the f-stop, shutter speed, flash intensity, simplifying clinical documentation to a straightforward point-and-shoot experience. The EyeSpecial is designed to be the ultimate solution for the entire dental team.
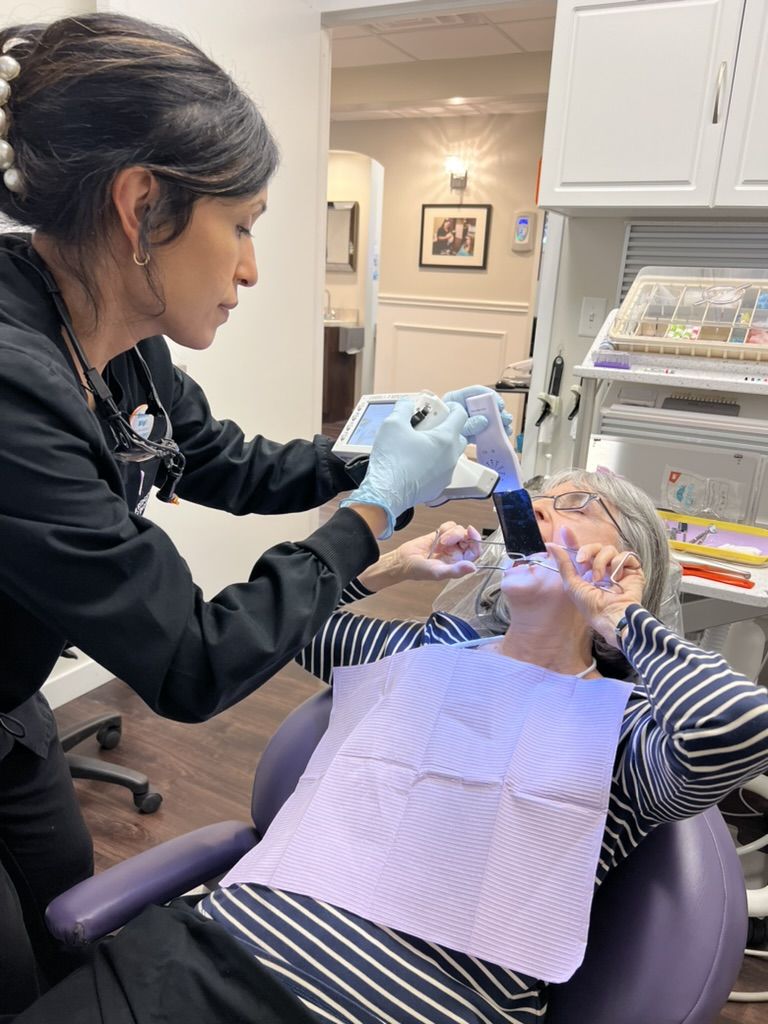
[Figure 2a] The EyeSpecial includes features that automate and simplify clinical photography.

[Figure 2b] The camera can capture up to 12-megapixel images with 9 preset dental-specific shooting modes.
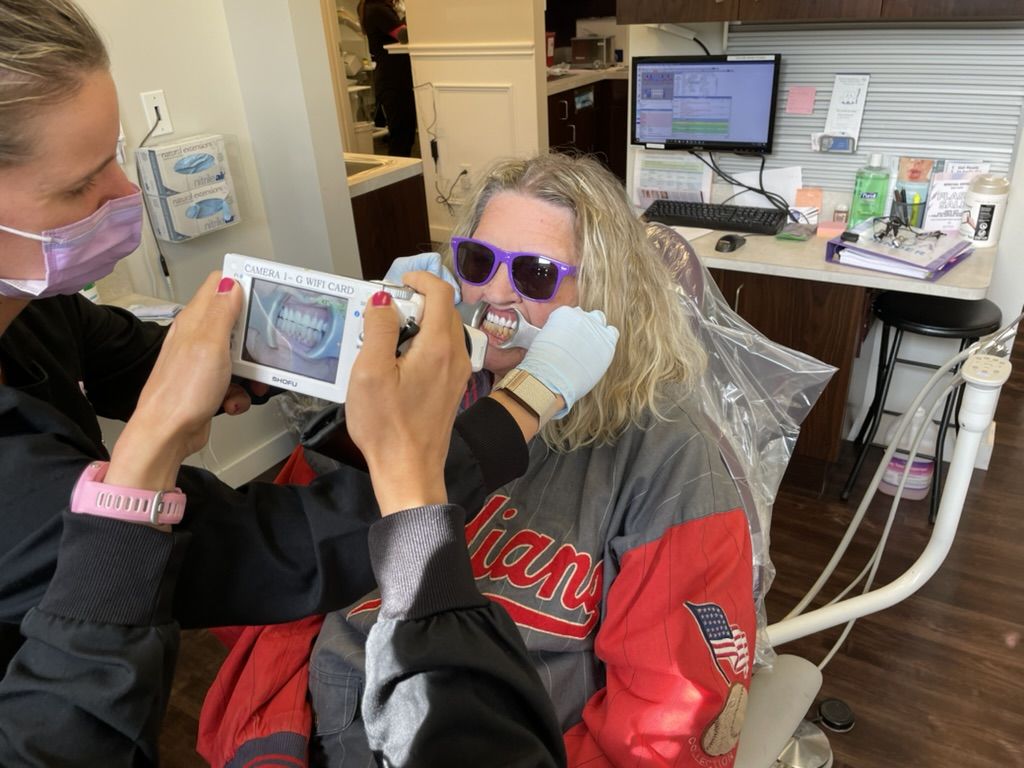
[Figure 3] The preset shooting modes automatically set the ideal f-stop, shutter speed, flash intensity, zoom, and other variables to make clinical documentation as easy as point and shoot.
In-Office Application
Taking photos of our patients in the dental office is helpful for a variety of reasons. The most obvious is having “before” and “after” images. However, as the digital age has expanded, the need for photos has increased. When we have photos on the screen in an operatory, we give the patient a glimpse of what we see in the mouth. The patient can see why treatment is needed. And in some cases, the photos help them articulate their wants/needs.
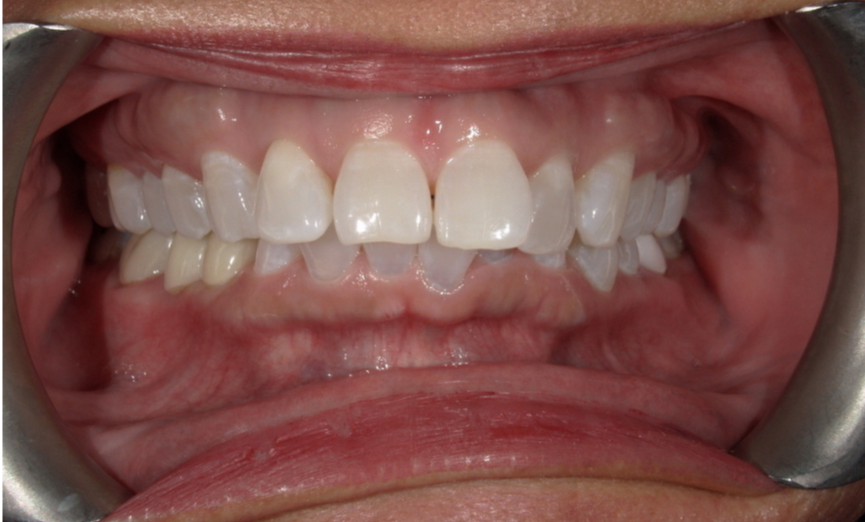
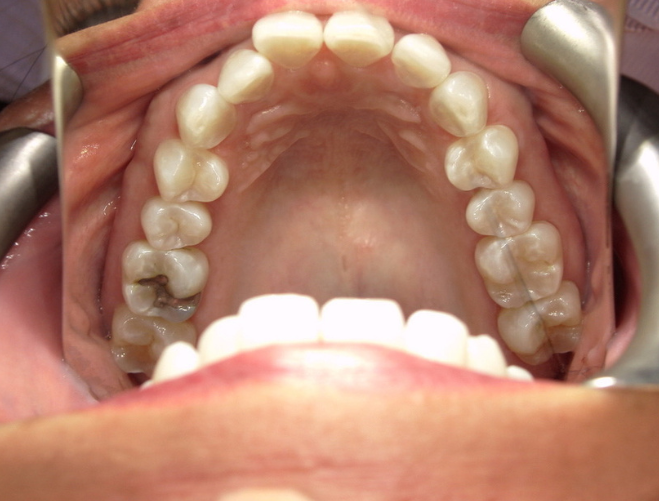
As more offices embrace technological advances, it is becoming a standard of care in high-level practices to include extraoral photographs as an adjunct to standard radiographic exams and intraoral photography. These extraoral photos, at a simple level, include a basic smile, retracted front facial with the teeth in occlusion, retracted front facial with the lower incisors showing, retracted upper occlusal, retracted lower occlusal, and specific lower lingual anterior (Figure 4a, 4b, 4c). Showing these photos to patients very conveniently opens the door to discussions about their long-term oral health goals. Rather than lecturing a list of problems, dentists can discover various dental needs along with the patient.
This only works if the camera used is simple. It needs to consistently produce high-quality images, be easy to focus, be easy to disinfect, and seamlessly integrate with the multitude of imaging software available.
[Figure 4a, 4b, & 4c] Extraoral photographs are a key adjunct to standard radiographic exams and intraoral photography.
Clinician Feedback
Catapult Education consists of several general dentists and specialists, representing a variety of clinical backgrounds, all of whom are charged with objectively evaluating various dental supplies, software, equipment, and technology. For the most recent product evaluation, members were asked to rate the EyeSpecial camera based on the following characteristics: chairside workflow, learning curve with the camera, shooting modes, and prevention of cross-contamination (infection control).
When respondents were asked about the use of camera and chairside workflow, the answers were as follows:
“[The] workflow is so smooth since anyone in the practice can take photos.”
“[It’s] user-friendly for the entire team.”
“So easy to use—just point and shoot.”
It often can take a long time for team members to become proficient with a new technology in the practice. Respondents were asked about the learning curve for the EyeSpecial camera. Here are their responses:
“It’s very easy to use with little or no prior experience.”
“Very short learning curve.”
“[It took] approximately 1 week.”
“[It took] 1 session with the Shofu rep.”
When respondents were asked about greater office efficiency and better patient outcomes, all responses were overwhelmingly positive:
“It’s so much easier to see what is going on when the image is taken quickly and can be displayed on a TV.”
“Outstanding technology.”
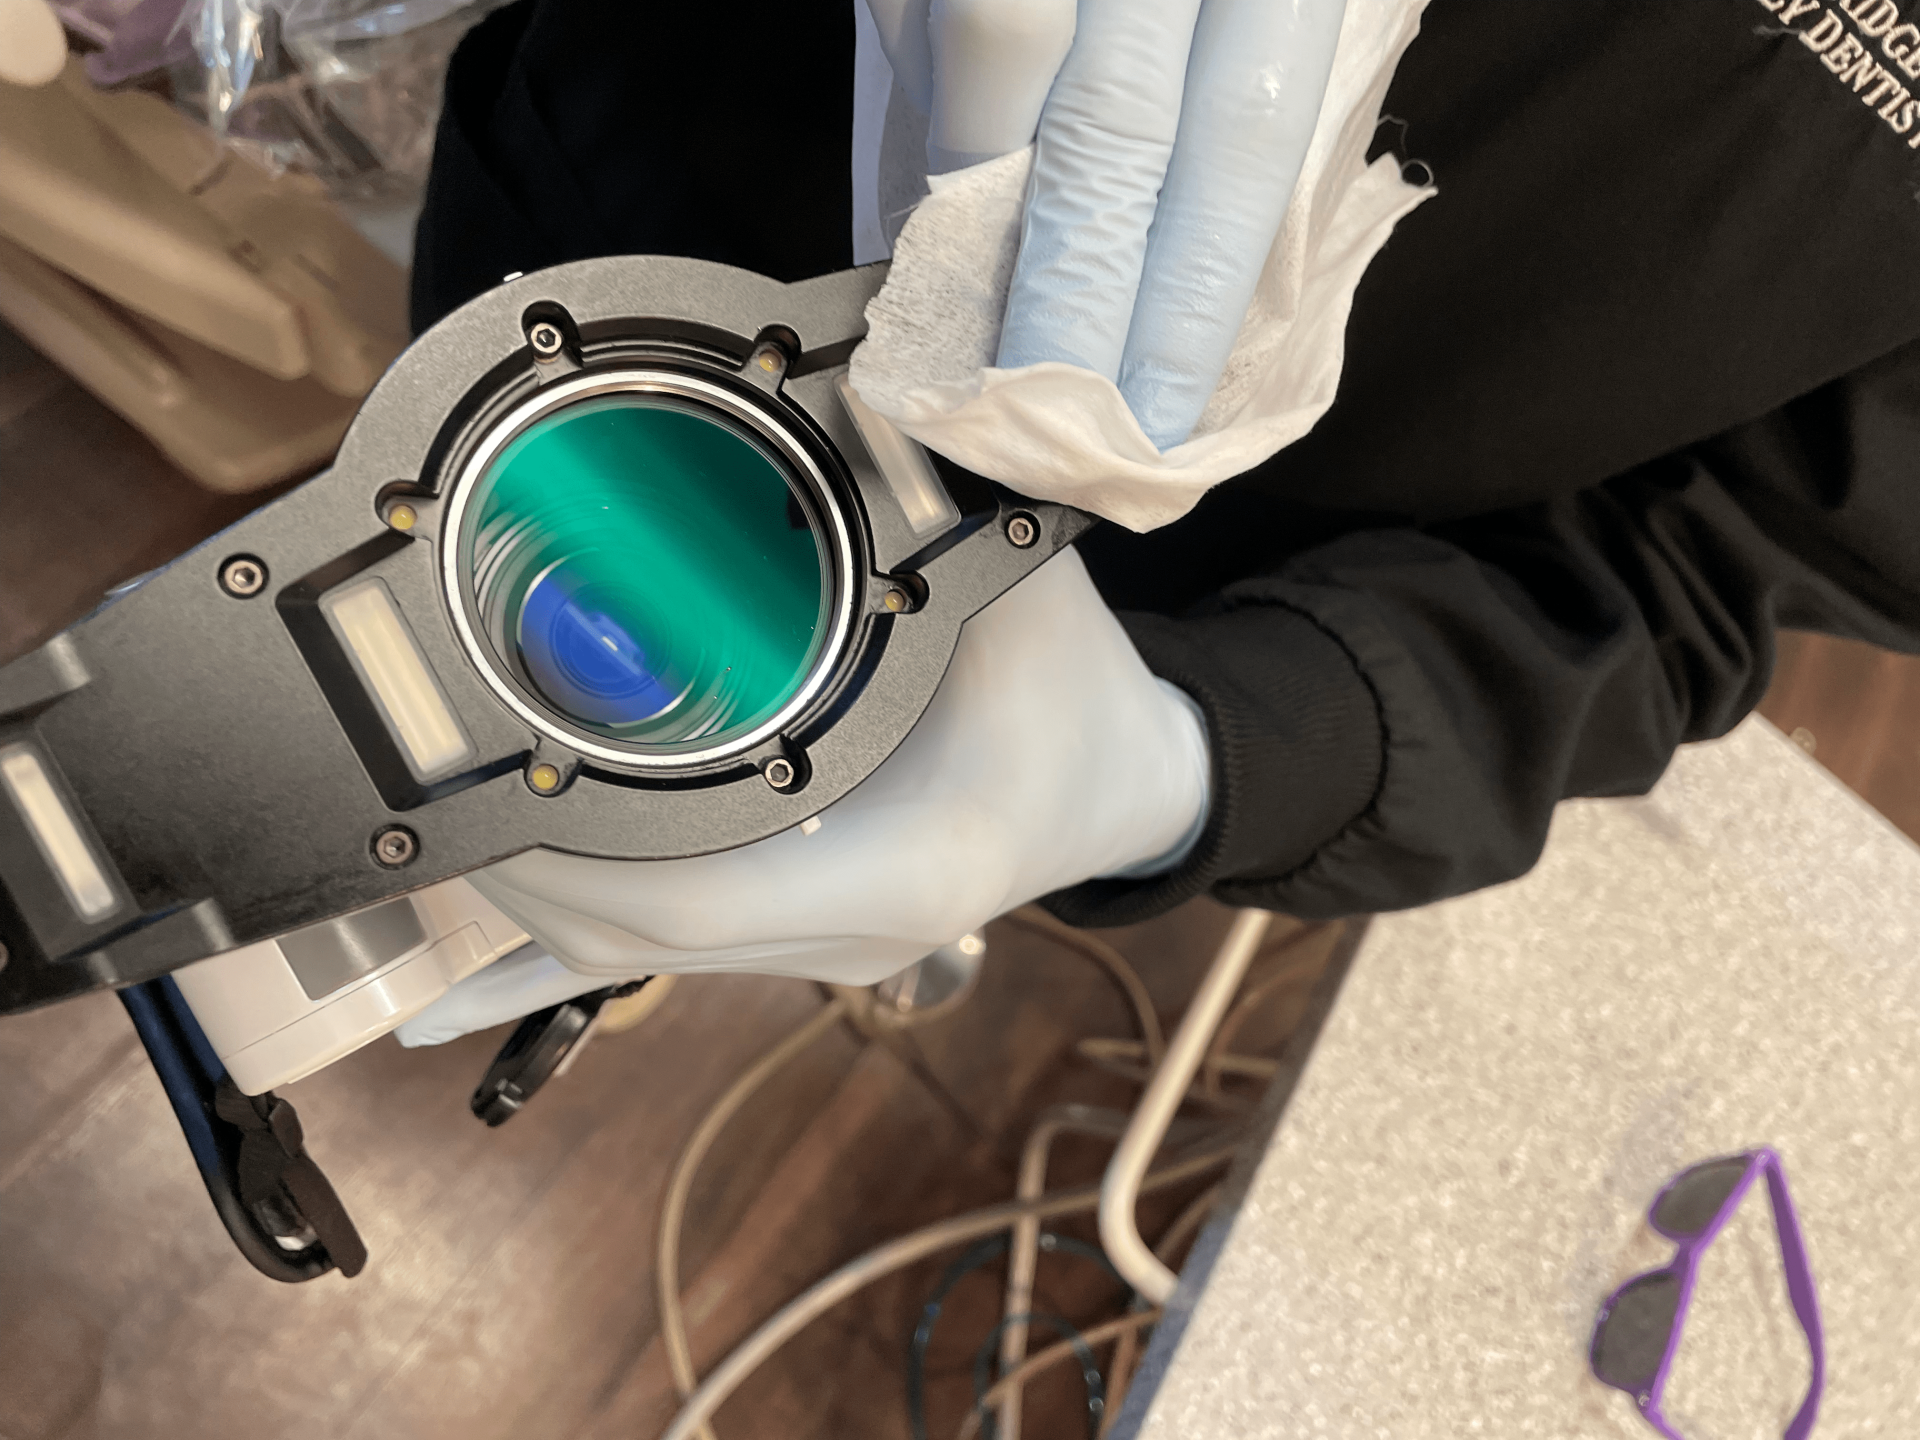
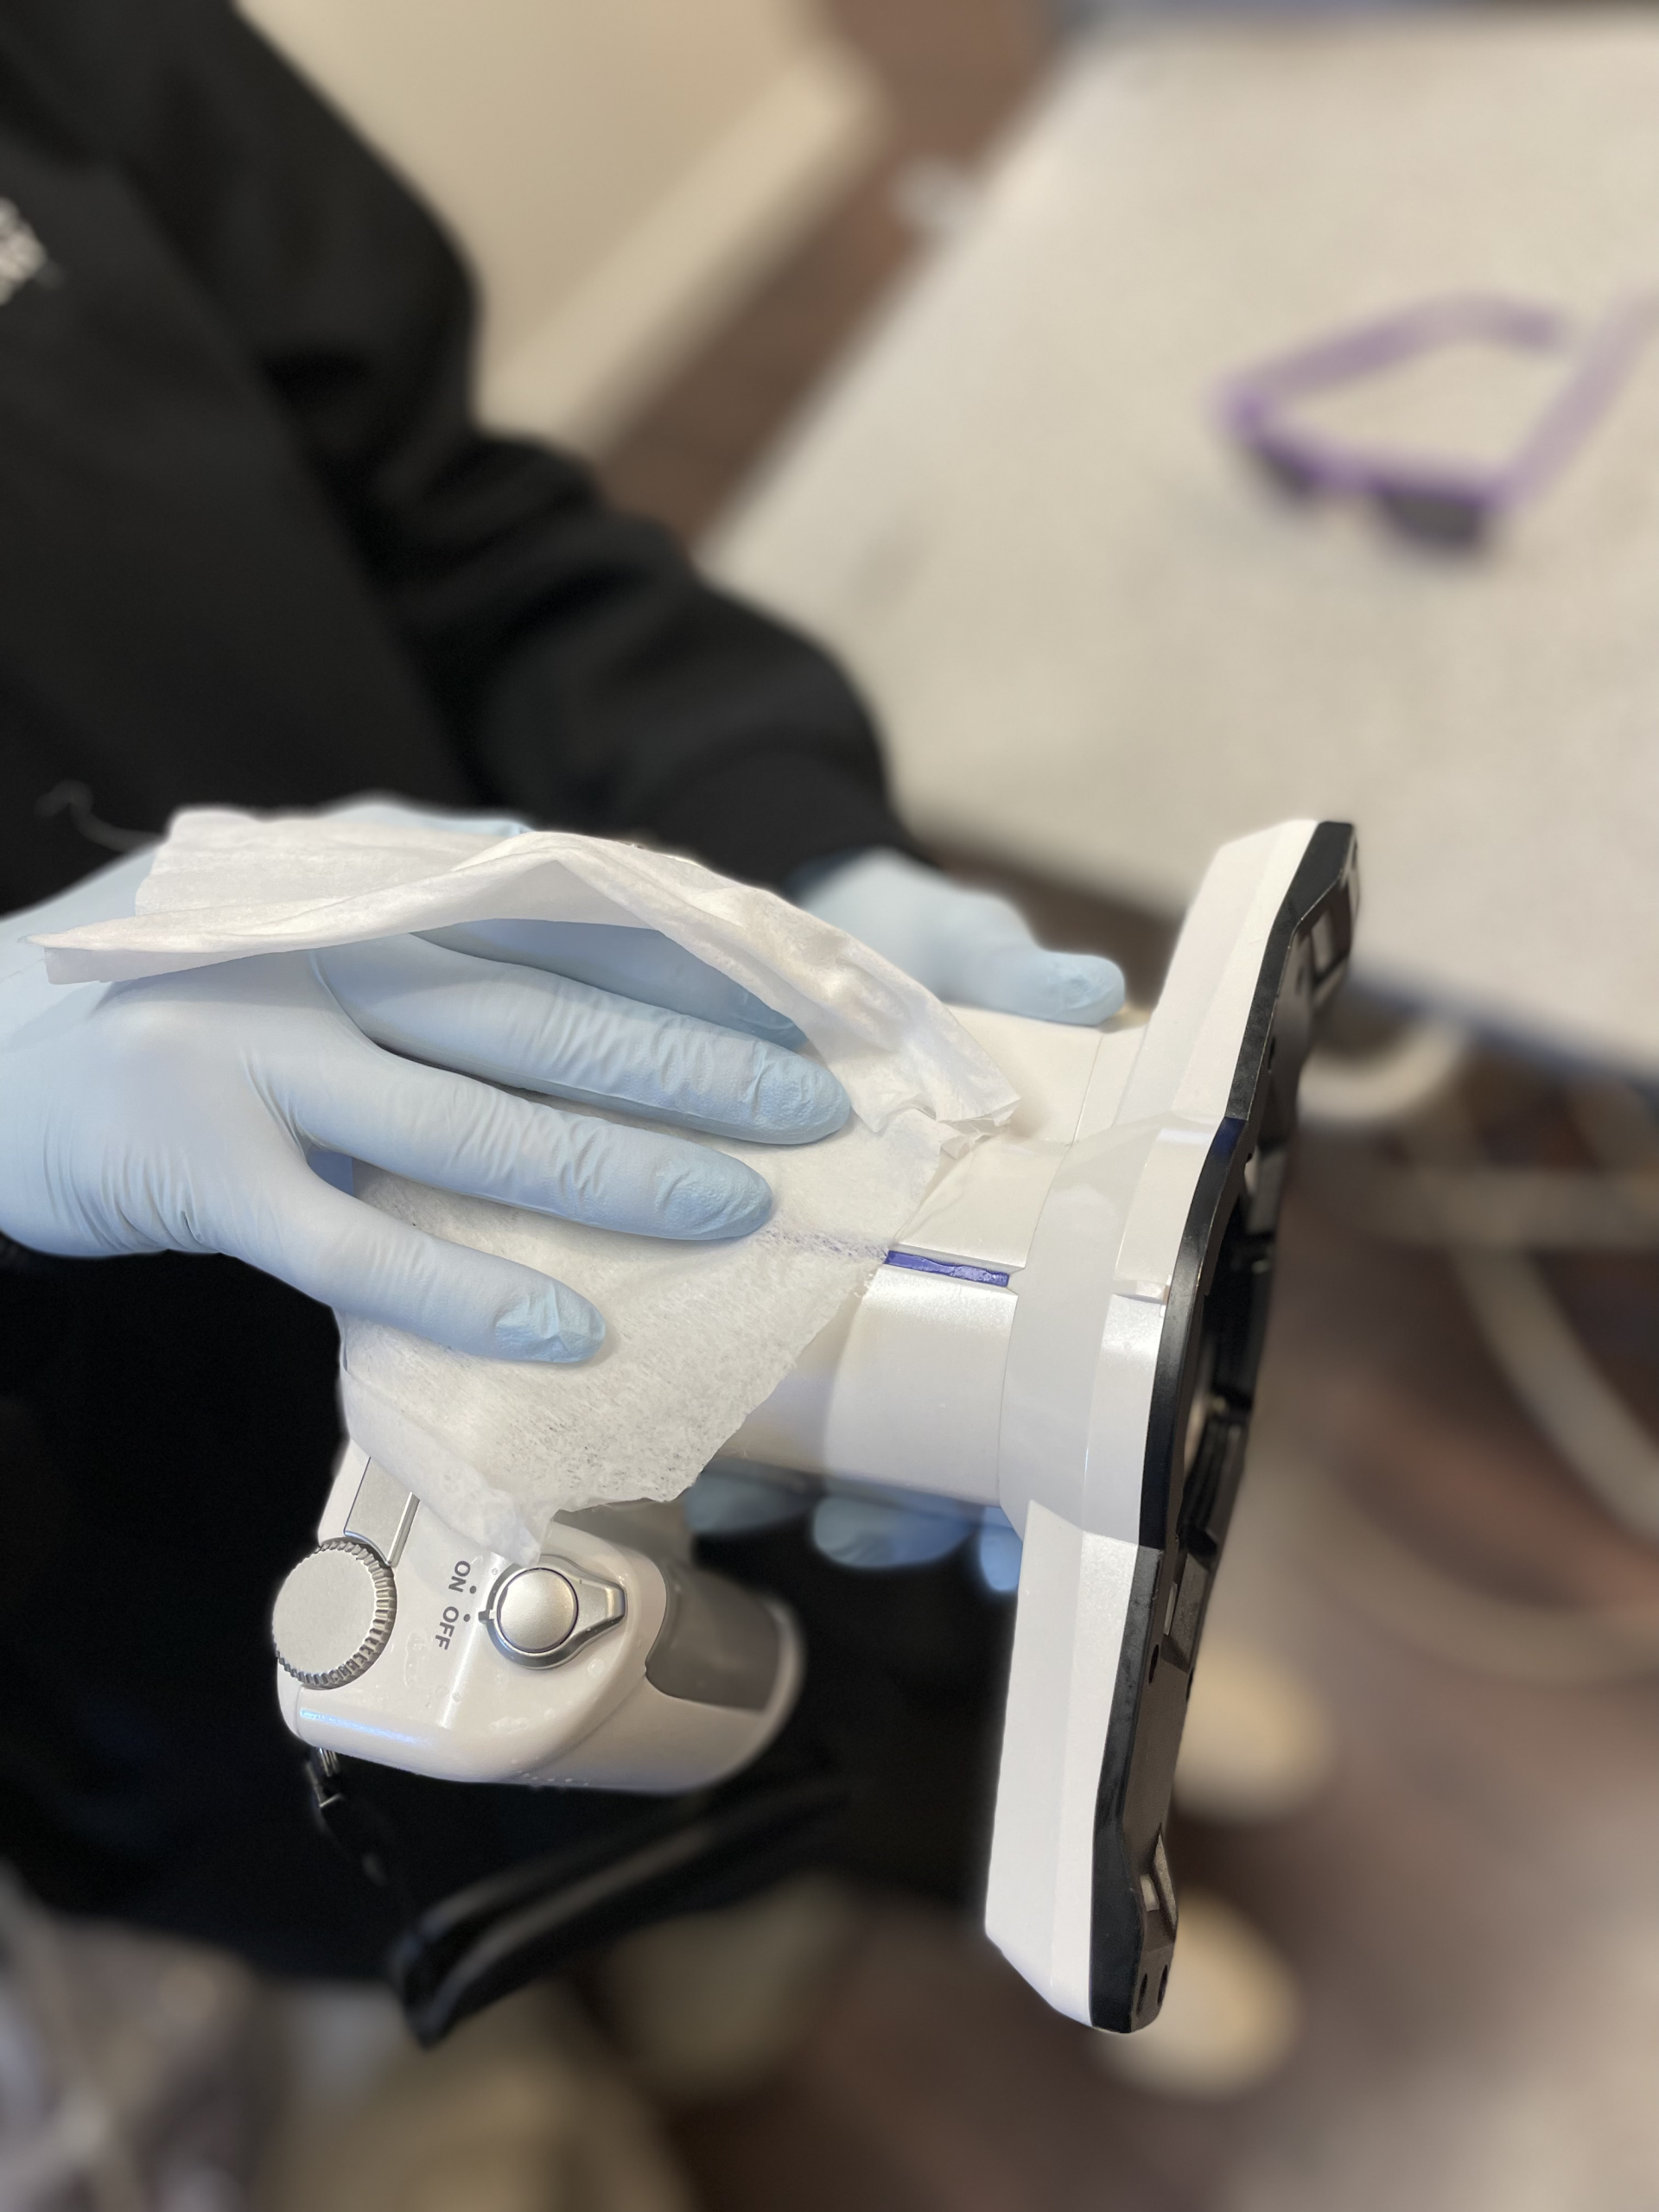
All respondents reported that the camera was easy to disinfect because normal disinfecting wipes can be used on it (Figure 5a & 5b).
There are 2 tips that I would like to share with readers. The first is to consider purchasing WiFi memory SD cards. Prior to learning about these, our office team had to take photos with the camera, then remove the SD card, plug it into the desktop workstation, and upload those photos to our imaging software. Having a Wi-Fi SD card has allowed us to directly send images to our software under the patient’s name the moment the photo was taken. This has been an incredible time saver.
The second is to consider purchasing antifog, LED-illuminated mirrors. One issue that most dental photographers run into is fog from the patient’s breathing during occlusal photos. This technology connects to an occlusal mirror, providing additional light, and a constant stream of air, which prevents the mirror from fogging. Both of the items can be purchased online.
